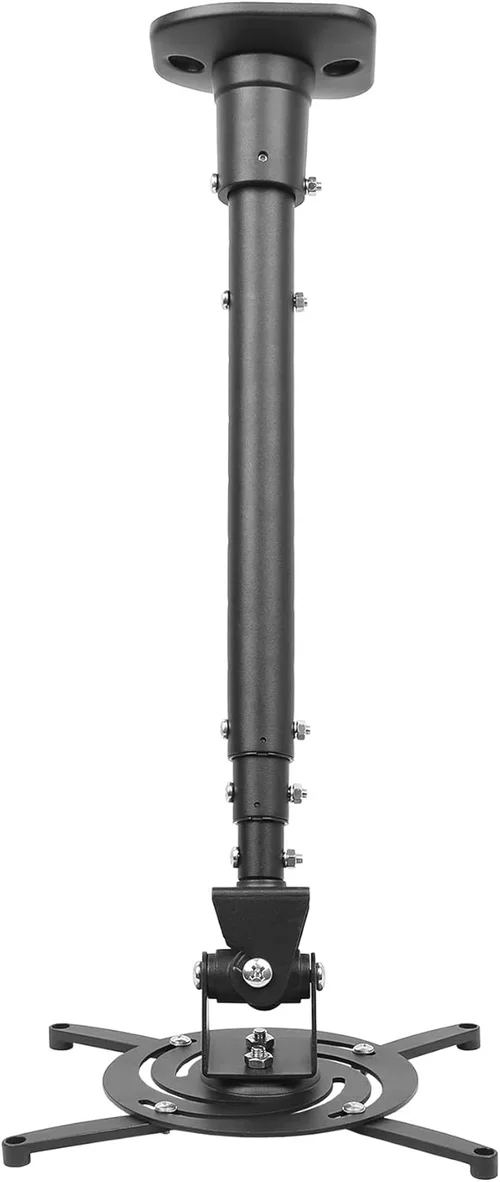
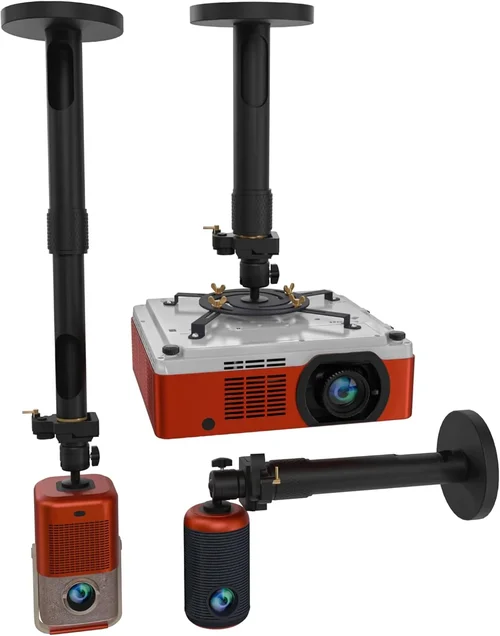
Finding the perfect projector ceiling mount without breaking the bank can feel like searching for a needle in a haystack. You want something sturdy enough to hold your device, easy enough to install, and priced under $50 – all while delivering reliable performance for movie nights, gaming sessions, or business presentations. This guide cuts through the noise, giving you the knowledge you need to make a confident purchase.
In the pages that follow, you’ll learn which features truly matter, how different mount styles compare, and which common pitfalls to sidestep. Whether you’re a first‑time buyer or a seasoned home‑theater enthusiast, the insights here will help you pinpoint the best projector ceiling mount for money under $50.
The market for budget‑friendly mounts has exploded in recent years. Manufacturers have responded with a variety of designs – from simple fixed brackets to adjustable swing‑arm models – each promising ease of use and durability. By understanding the core criteria and matching them to your specific setup, you can avoid overpaying for unnecessary bells and whistles while still getting a mount that lasts.

What to Look for When Buying Buying Guide
1. Budget & Price Range
When you set a ceiling‑mount budget under $50, you’re already narrowing the field to entry‑level options. However, “budget” doesn’t have to mean “cheap.” Look for mounts that balance cost with quality materials such as steel or reinforced aluminum. A good rule of thumb is to avoid anything made primarily of low‑grade plastic, as it may warp over time.
2. Build Quality & Durability
Even at a low price point, a mount should feel solid in the hand. Check for welded joints rather than just glued or snap‑fit connections. A sturdy mounting plate with multiple screw holes distributes weight evenly, reducing stress on your ceiling joists. Look for a finish that resists rust – powder‑coated steel or zinc‑plated components are ideal.
3. Weight Capacity
Projectors vary widely in weight, from feather‑light pico models (under 2 lb) to full‑size home‑theater units (up to 15 lb). Verify the mount’s maximum weight rating and choose one that exceeds your projector’s weight by at least 20 %. This safety margin prevents sagging and extends the mount’s lifespan.
4. Adjustability & Flexibility
Adjustability is the heart of a good ceiling mount. Look for:
- Tilt (vertical angle) – typically –5° to +15° for fine‑tuning image geometry.
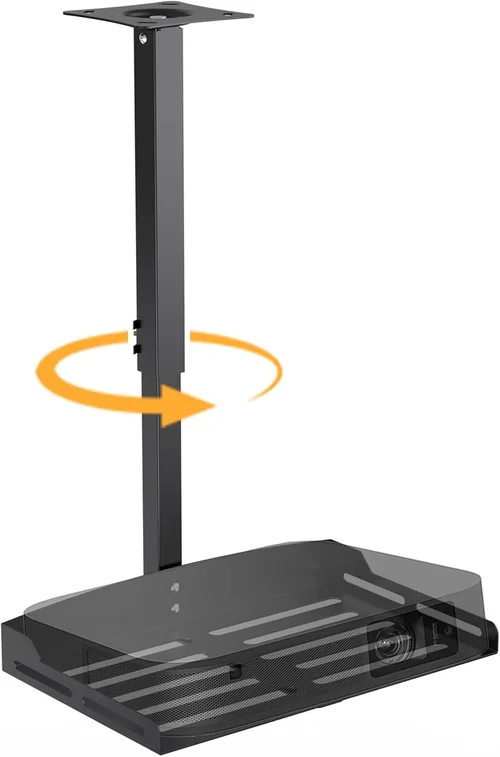
- Swivel (horizontal rotation) – 0° to 360° lets you point the projector wherever you need.
- Extension/retraction – a swing‑arm that can pull the projector away from the ceiling for easier access to ports and lenses.
Even budget models now include at least tilt and swivel; a basic extension arm is a nice bonus.
5. Installation Simplicity
DIY installation should be straightforward. Look for mounts that come with:
- Pre‑drilled holes that align with standard joist spacing (16” or 24”).
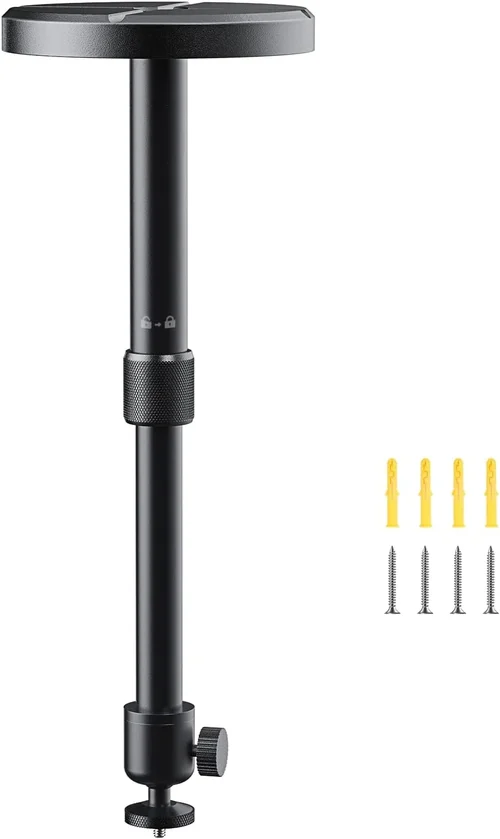
- All necessary hardware – lag bolts, washers, and anchors.
- Clear, step‑by‑step instructions with diagrams.
Some brands even include a laser level guide to speed up the process.
6. Cable Management
Messy cables can ruin an otherwise clean setup. A good mount incorporates built-in cable clips or channels, keeping power and HDMI cords neatly tucked away. This not only looks better but also reduces the risk of accidental pulls that could detach the projector.
7. Brand Reputation & Warranty
Even in the sub‑$50 segment, reputable brands tend to stand behind their products. Look for manufacturers that offer at least a one‑year limited warranty and have a track record of responsive customer service. Checking user forums and Amazon reviews can give you a sense of real‑world reliability.
Different Types of Buying Guide

Common Buying Mistakes to Avoid
❌ Mistake: Ignoring Weight Ratings
Why it’s bad: Overloading a mount can cause sagging, warped brackets, or even a catastrophic drop.
What to do instead: Always verify the projector’s weight and choose a mount rated at least 20 % higher.
❌ Mistake: Skipping the Joist Check
Why it’s bad: Mounting directly to drywall without anchoring into a joist leads to instability.
What to do instead: Use a stud finder, locate a solid joist, and secure the mount with lag bolts.
❌ Mistake: Overlooking Cable Management
Why it’s bad: Tangled cords can pull on the projector, cause wear, and look messy.
What to do instead: Pick a mount with built‑in clips or purchase separate zip‑tie kits.
❌ Mistake: Buying the Cheapest Plastic Model
Why it’s bad: Low‑grade plastic can crack under the weight of a modest projector, especially over time.
What to do instead: Opt for steel or reinforced aluminum even if it costs a few dollars more.
❌ Mistake: Forgetting About Future Upgrades
Why it’s bad: You may later purchase a heavier projector and find the mount can’t handle it.
What to do instead: Choose a mount with a higher capacity than your current device to allow for upgrades.
Budget Guidelines: How Much Should You Spend?
Even within a sub‑$50 ceiling‑mount market, there are subtle price tiers that reflect material quality and feature sets.
- Entry-Level ($20‑$30): Basic fixed brackets, often all‑plastic, suitable for lightweight pico projectors. Minimal adjustability.
- Mid‑Range ($31‑$40): Steel construction with tilt and swivel, basic cable clips, and a simple swing‑arm. Good for most home‑theater setups.
- Premium ($41‑$50): Reinforced steel, quick‑release mechanisms, extensive cable management, and a higher weight capacity (up to 20 lb). Ideal for larger, more expensive projectors.
Expert Tips for Getting the Best Deal
- Shop Seasonal Sales: Black Friday, Cyber Monday, and post‑holiday sales often feature 20‑30 % off ceiling mounts.
- Compare Across Platforms: Check both Amazon and direct manufacturer sites; sometimes the latter offers bundle deals with extra hardware.
- Read Verified Buyer Photos: Real‑world installation pictures reveal hidden quirks that product images hide.
- Check Return Policies: A 30‑day hassle‑free return window gives you breathing room to test fit.
- Consider Bulk Purchases: If you’re outfitting multiple rooms, buying two mounts from the same supplier can net a bulk discount.
- Use a Level and Laser Guide: Even a cheap mount looks professional when installed perfectly level.
- Verify Warranty Terms: A longer warranty often indicates confidence in durability.

Frequently Asked Questions
Q: Can I install a ceiling mount myself without professional tools?
A: Yes. Most budget mounts include all required hardware and only need a drill, a screwdriver, a stud finder, and a level. The process typically takes under an hour for a DIY‑savvy homeowner.
Q: What if my ceiling is made of concrete?
A: Use concrete anchors rated for the mount’s weight. Many manufacturers provide concrete‑specific hardware kits; otherwise, purchase #10 × 1½‑inch sleeve anchors.
Q: Do I need a separate ceiling joist reinforcement?
A: Only if the joist is undersized for the projector’s weight. For most sub‑20 lb setups, a standard 2×6 joist is sufficient.
Q: How far can I extend the swing‑arm?
A: Most adjustable mounts in this price range extend 6‑12 inches from the ceiling plate, providing enough clearance for ports and lens adjustments.
Q: Is a quick‑release feature worth the extra cost?
A: If you frequently swap projectors or need fast access for maintenance, the convenience outweighs the modest price increase.
Q: Will a mount affect projector image quality?
A: The mount itself doesn’t affect image quality, but proper tilt and swivel adjustments are essential for keystone correction and optimal picture geometry.
Q: Can I use the same mount for both a home theater and a classroom?
A: Yes, provided the mount’s weight capacity and adjustability meet the requirements of both environments. Consider a model with a broader tilt range for classroom flexibility.
Our Final Recommendations
- Best for Budget‑Conscious Buyers: VIVO Fixed Ceiling Mount – $22. Simple steel construction, supports up to 15 lb, easy install.
- Best Overall Value: Mount-It! Adjustable Swing‑Arm Mount – $38. Offers tilt, swivel, 12‑inch extension, and built‑in cable clips.
- Best Premium Option (still under $50): PERLESMITH Quick‑Release Ceiling Mount – $48. Reinforced steel, 20 lb capacity, tool‑free release, robust cable management.
- Best for Beginners: WALI Universal Ceiling Mount – $30. Clear instructions, pre‑drilled holes, and a modest weight limit suitable for most entry‑level projectors.
- Best for Advanced Users: OmniMount Pro Swing‑Arm – $49. Precision tilt (+/-15°), 360° swivel, and a heavy‑duty plate for larger home‑theater units.
Conclusion: Making the Right Choice
Choosing the best projector ceiling mount for money under $50 boils down to three core principles: ensure the mount can safely support your projector’s weight, verify that it offers the adjustability you need, and confirm that the build quality justifies the price. By following the factors, comparison tables, and expert tips outlined in this guide, you’ll avoid common mistakes and land a mount that delivers stability, flexibility, and longevity without draining your wallet.
Take a moment to assess your projector’s specifications, measure your ceiling space, and match those details to one of the recommended models above. With the right mount in place, you’ll enjoy a crisp, perfectly aligned image every time you press play.