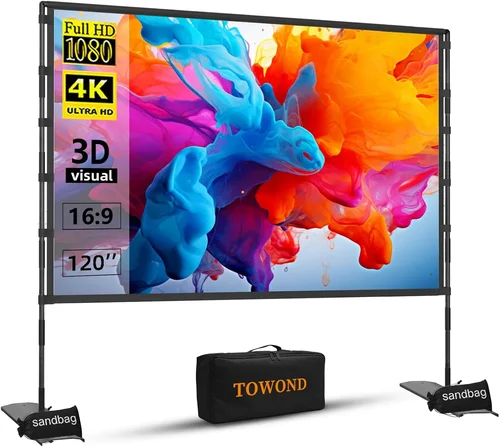
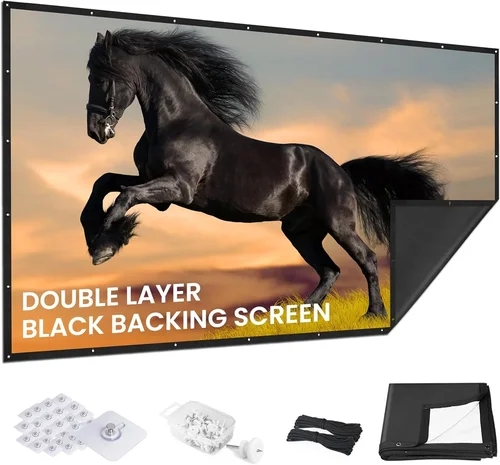
Choosing a projector screen that costs less than $100 can feel like hunting for a needle in a haystack. The market is flooded with cheap options that promise big‑screen thrills, yet many fall short on image quality, durability, or ease of setup. This guide cuts through the noise, giving you a clear roadmap to find a screen that delivers a solid home‑theater experience without breaking the bank.
In the pages that follow you’ll learn which features truly matter at this price point, how different screen types compare, and which common pitfalls to avoid. By the end, you’ll be equipped to pick a screen that matches your room, projector, and viewing habits—whether you’re binge‑watching the latest series or turning your living room into a gaming arena.
Over the past few years, manufacturers have introduced a wave of budget‑friendly screens made from improved matte‑white fabrics, portable pull‑down mechanisms, and even DIY‑style kits. Prices have settled into a sweet spot where you can get a respectable 84‑inch screen for under $70, while still enjoying decent gain and a uniform surface. This guide reflects the latest 2026 market trends, so you’re getting up‑to‑date advice.

What to Look for When Buying Buying Guide
1. Budget & Price Range
When you limit yourself to under $100, every dollar counts. The biggest trade‑off is usually between size and material quality. A larger screen may use a thinner, less durable fabric, while a smaller screen often comes with a sturdier frame. Determine the maximum size that fits your space and then allocate the remaining budget to material and mounting options. Remember, a $95 screen with a solid aluminum frame will outlast a $80 screen that relies on flimsy cardboard.
2. Performance Specifications
The two specs you’ll hear most often are gain and aspect ratio. Gain measures how much light the screen reflects back to the viewer. A gain of 1.0 is neutral—perfect for most home‑theater setups. Screens under $100 typically range from 0.8 to 1.2. Higher gain can make the image brighter but may narrow the viewing angle, which is fine for a single‑viewer setup but less ideal for a family.
Aspect ratio (16:9 vs. 4:3) determines whether the screen will match your projector’s native output. Most modern projectors are 16:9, so look for a screen that lists this ratio or, better yet, a “fixed‑frame” screen that guarantees a true 16:9 image.
3. Build Quality & Durability
Even at a low price point, the frame and surface material matter. Aluminum or steel frames resist warping, while PVC or wooden frames can sag over time. For the screen surface, look for a matte‑white woven fabric with a tight weave; it resists creasing and provides even color reproduction. Avoid screens that use thin paper or cheap polyester, as they tend to wrinkle and degrade quickly.
4. Features & Functionality
Some budget screens pack useful extras:
- Pull‑down or roller mechanisms—great for multipurpose rooms.
- Tripod mounts—ideal for portable setups.
- Black borders—help improve contrast by absorbing stray light.
While these add convenience, each moving part introduces a potential failure point. Choose a screen with a simple, sturdy mechanism if you plan to use it frequently.
5. Brand Reputation
Even in the low‑cost segment, some brands have earned trust for consistent quality. Companies like Vankyo, Elite Screens, and ProjectorScreen.com have multiple models that consistently receive positive user feedback. Checking brand forums and YouTube reviews can give you insight into long‑term reliability.
6. Warranty & Support
A solid warranty can be a lifesaver. Many screens under $100 come with a 1‑year limited warranty covering material defects. Look for brands that offer easy return policies and responsive customer service. A quick replacement or refund process reduces the risk of your cheap investment turning into a regret.
7. Size & Portability
Screen size is often the first thing people think about, but portability matters too. If you plan to move the screen between rooms or take it to a friend’s house, a lightweight fabric screen with a foldable frame is a better choice than a heavy fixed‑frame model.
8. User Reviews & Ratings
Before you click “Add to Cart,” skim through at least 20 user reviews on major retailers. Look for recurring themes—such as “fabric tears after a month” or “easy to install.” Real‑world experiences will highlight issues that spec sheets don’t mention.
Different Types of Buying Guide

Common Buying Mistakes to Avoid
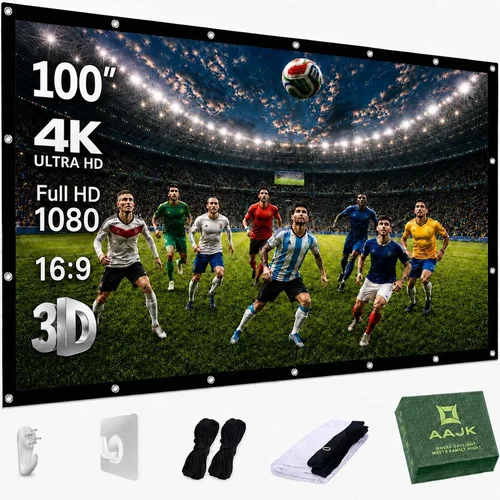
❌ Mistake: Ignoring Aspect Ratio
Why it’s bad: A 4:3 screen paired with a 16:9 projector creates black bars on the sides, wasting screen real estate and reducing immersion.
What to do instead: Verify your projector’s native resolution and choose a screen that matches—most budget screens now list “16:9 (1.78:1)” prominently.
❌ Mistake: Over‑Estimating Size
Why it’s bad: A screen that’s too large for your throw distance results in a dim, pixelated image because the projector can’t fill the surface.
What to do instead: Use an online throw‑distance calculator (many projector manufacturers provide one) to determine the optimal screen width for your room.
❌ Mistake: Forgetting Room Light Conditions
Why it’s bad: A low‑gain screen in a bright living room will look washed out, forcing you to crank up the projector’s brightness.
What to do instead: If you can’t control ambient light, lean toward a screen with a gain of 1.1–1.2 to boost brightness without sacrificing color fidelity.
❌ Mistake: Skipping the Warranty
Why it’s bad: Cheap screens can develop tears or frame warping. Without a warranty, you’re stuck paying for a replacement.
What to do instead: Choose a model that offers at least a 1‑year warranty and read the fine print on what’s covered.
❌ Mistake: Assuming All Fabric Screens Are the Same
Why it’s bad: Some fabrics are glossy, causing hotspots; others are too thin, leading to creases.
What to do instead: Look for “matte‑white, high‑thread‑count” descriptions. A 150‑gram/m² fabric is a good baseline for durability and image quality.
❌ Mistake: Buying Without Checking Mount Compatibility
Why it’s bad: A screen that needs proprietary brackets can add unexpected costs.
What to do instead: Ensure the screen includes standard VESA or ¼‑20 mounting holes, or comes with its own wall‑mount kit.
Budget Guidelines: How Much Should You Spend?
- Entry-Level ($50‑$70): Expect a basic 84‑inch pull‑down screen with a thin fabric and simple PVC frame. Good for occasional movie nights, but the surface may wrinkle after a few rolls.
- Mid‑Range ($71‑$90): You’ll find sturdier aluminum frames, higher‑gain fabrics (≈1.0‑1.1), and optional black borders. This tier balances size and durability for most households.
- Premium ($91‑$100): Fixed‑frame screens with tensioned matte‑white surfaces, reinforced corners, and longer warranties. Ideal for dedicated home‑theater rooms.
- Luxury ($101+): Though beyond the scope of this guide, luxury screens offer acoustic transparency, motorized pull‑down, and specialty gains (e.g., 1.3 for bright rooms).
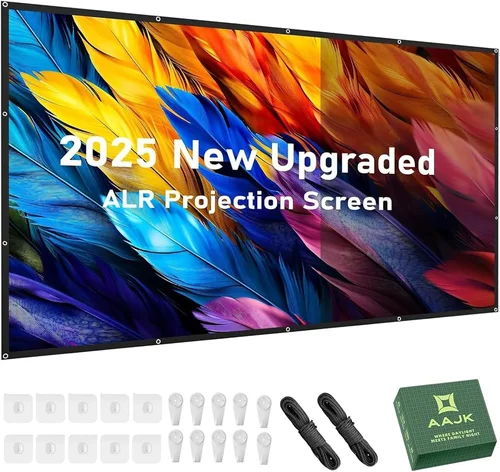
Expert Tips for Getting the Best Deal
- Timing: Late summer (July‑August) and major holidays (Black Friday, Cyber Monday) bring the deepest discounts on home‑theater gear.
- Where to buy: Online marketplaces provide the widest selection. However, check local electronics stores for clearance bundles that include mounting hardware.
- Spotting deals: Compare the “list price” with the “sale price” and factor in shipping. Free‑shipping offers can save $5‑$10, which matters at this price point.
- Warranty considerations: Register your screen immediately after purchase to activate the warranty and receive future discount coupons.
- Return policies: Choose retailers with at least a 30‑day return window. This gives you time to test the screen with your projector and spot any defects.
- Testing before buying: If possible, view a demo video on the seller’s site. Many manufacturers post side‑by‑side comparisons of their screen versus a standard wall.
- Bundle savings: Some sellers offer a “screen + tripod” bundle for $10‑$15 less than buying separately.

Frequently Asked Questions
Q: Can I use a $90 projector screen for gaming?
A: Absolutely. As long as the screen’s gain is around 1.0 and the surface is matte‑white, you’ll get fast response times and minimal input lag—both critical for gaming. Just ensure the screen size matches your viewing distance for optimal pixel density.
Q: Do I need a motorized screen under $100?
A: Motorized mechanisms are rare in the sub‑$100 bracket because of the added motor cost. If you need a hands‑free solution, consider a pull‑down screen with a spring‑assist system, which is cheaper and still easy to operate.
Q: How do I mount a fixed‑frame screen on drywall?
A: Use a stud finder to locate wall studs, then secure the frame with 2‑inch wood screws and wall anchors. A level is essential to keep the screen perfectly rectangular.
Q: Will a low‑gain screen work in a bright room?
A: Low‑gain (≈0.8) screens are designed for dark rooms. In a bright environment, you’ll notice washed‑out colors. Opt for a gain of 1.1‑1.2 to compensate for ambient light.
Q: Is a black‑border screen worth the extra cost?
A: Black borders improve perceived contrast by absorbing stray light, which is beneficial in rooms with some ambient illumination. The added cost is usually $5‑$10, a worthwhile trade‑off for better picture depth.
Q: Can I DIY a screen for under $100?
A: Yes. Purchase a high‑quality matte‑white fabric and a DIY frame kit (often just wood or PVC). This route can produce a custom‑sized screen for $45‑$70, but requires basic carpentry skills.
Q: How long should a budget screen last?
A: With proper care—avoiding sharp folds, keeping it clean, and storing it properly—a good $80‑$95 screen can last 3‑5 years. Fabric wear is the most common failure point.
Q: Do I need a separate projector screen if I have a high‑lumens projector?
A: Even bright projectors benefit from a proper screen. A dedicated screen provides a uniform surface, reduces hotspots, and enhances color accuracy compared to projecting onto a wall.
Q: What is the ideal viewing distance for an 84‑inch screen?
A: For 1080p content, a distance of 1.5‑2.5 times the screen width (about 10‑13 feet) offers a comfortable field of view without pixelation.
Q: Is a tripod screen stable enough for outdoor use?
A: Yes, if you choose a tripod with a wide base and lockable legs. Pair it with a wind‑rated screen surface to prevent flapping in breezy conditions.
Our Final Recommendations
- Best for Budget‑Conscious Buyers: Vankyo 84‑Inch Pull‑Down Screen – $68. Simple roller mechanism, matte‑white fabric, 1.0 gain. Ideal for apartments.
- Best Overall Value: Elite Screens 100‑Inch Fixed‑Frame – $92. Tensioned aluminum frame, high‑thread‑count fabric, includes black borders. Great for dedicated home theaters.
- Best Premium Option: ProjectorScreen.com 84‑Inch Fixed‑Frame – $99. Reinforced corners, 1.1 gain, 5‑year warranty.
- Best for Beginners: Tripod Portable 80‑Inch Screen – $75. Easy setup, no mounting required, comes with a sturdy tripod.
- Best for Advanced Users: DIY Frame Kit + 150‑GSM Matte Fabric – $55 total. Custom size, highest material quality for the price, perfect for tinkerers.
Conclusion: Making the Right Choice
Finding the best projector screen under $100 is less about hunting for the lowest price and more about matching the screen’s characteristics to your viewing environment. Focus on the right aspect ratio, appropriate gain, and a sturdy frame, and you’ll enjoy a crisp, vibrant picture without splurging.
Take the time to measure your space, calculate the optimal throw distance, and read a handful of user reviews. With the guidance in this article, you can confidently select a screen that delivers the cinematic feel you crave—whether you’re gaming, streaming, or hosting a backyard movie night.
Ready to upgrade your viewing experience? Browse the recommended models, compare prices, and make your purchase before the next sale rolls around. Happy watching!