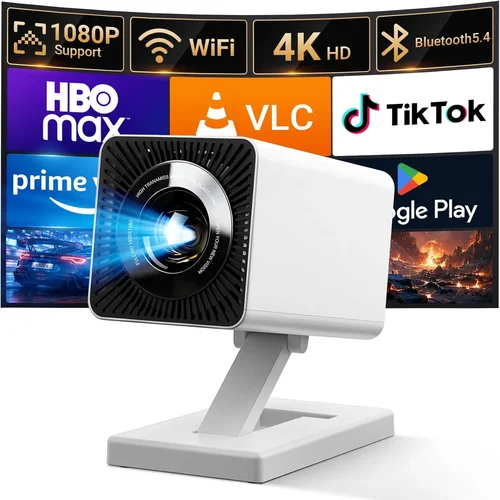
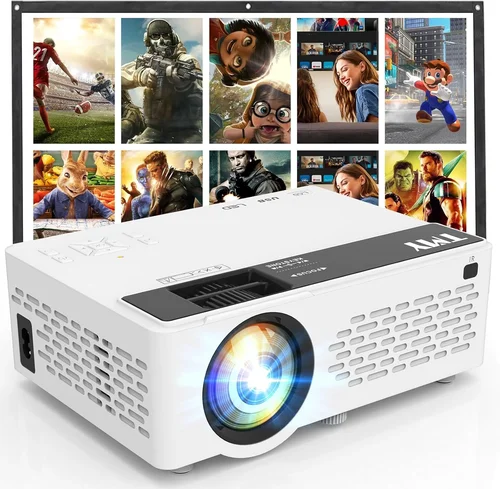
Finding a projector that delivers decent image quality without draining your wallet can feel like hunting for a needle in a haystack. The market is flooded with flashy specs, glossy ads, and price tags that range from a few dollars to several thousand. If you’re on a tight budget—say, under $100—this guide will cut through the noise and give you a clear roadmap to the best cheap projectors that actually work.
In the next few sections you’ll discover which features truly matter at this price point, how different projector types stack up against each other, and which common pitfalls to sidestep. By the end, you’ll be equipped to pick a projector that fits your living‑room, dorm room, or backyard movie night without compromising on the basics.
Even though $100 sounds limiting, manufacturers have made real strides in LED and laser technology, allowing compact units to provide bright, color‑rich images suitable for casual streaming, gaming, and presentations. Let’s dive in.

What to Look for When Buying Buying Guide
1. Budget & Price Range
When the ceiling is $100, every dollar counts. Focus on the total cost of ownership, not just the sticker price. Some models appear cheap but require pricey adapters, cables, or replacement lamps after a short lifespan. Look for all‑included accessories (HDMI, USB‑C, power brick) and verify that the advertised price covers everything you need to get the projector up and running.
2. Performance Specifications
Key specs to compare are:
- Resolution: Most sub‑$100 projectors are native 480p (854×480) or 720p (1280×720). While you won’t get 1080p clarity, a higher native resolution yields sharper text and less pixelation.
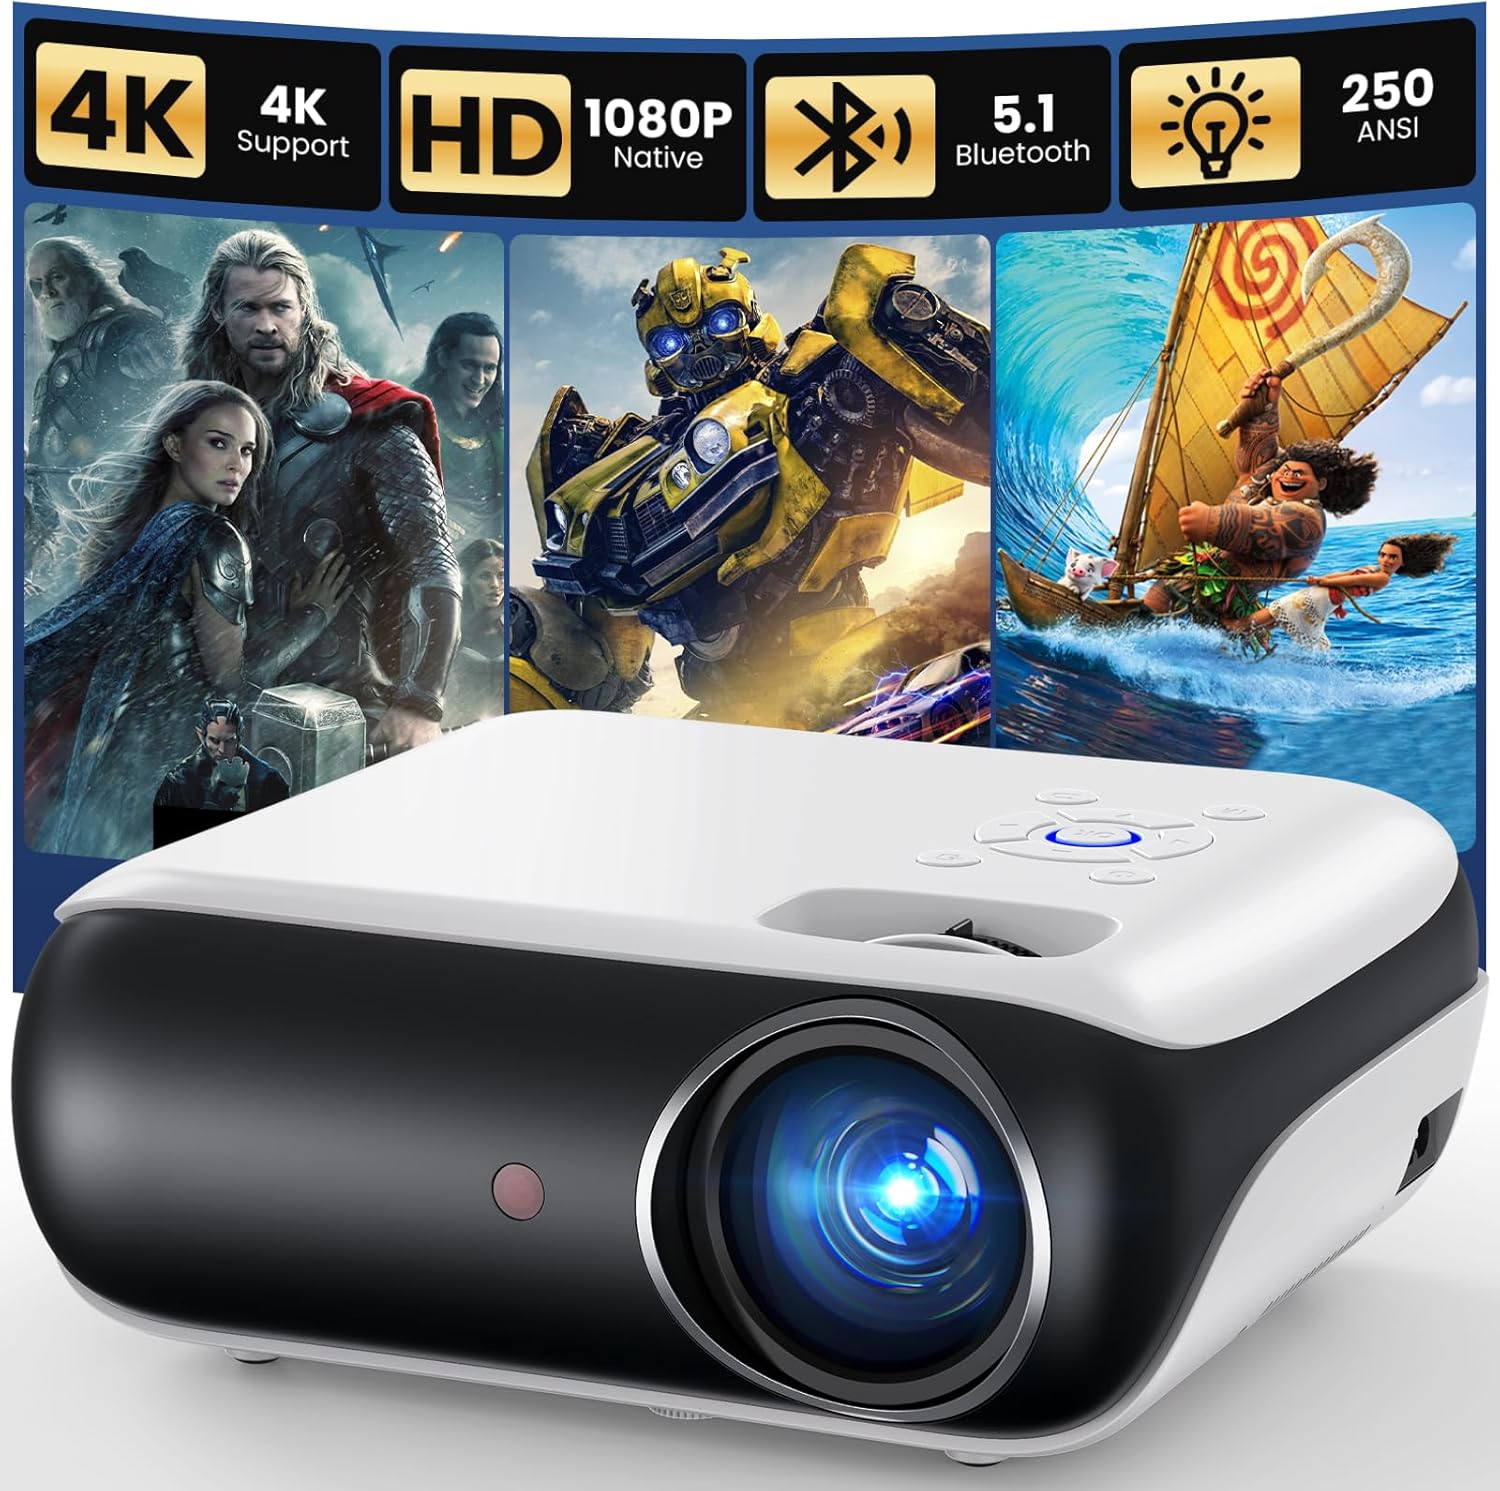
- Brightness (lumens): Look for at least 2000 ANSI lumens or 250–300 lumens in LED‑based units (LED lumens differ). Brighter units handle ambient light better, which is crucial for daytime use.
- Contrast Ratio: Higher contrast improves depth in dark scenes. Expect ratios around 1000:1; anything lower will look flat.
- Throw Distance: Determines how far the projector must sit from the screen. Short‑throw models are rare under $100, but a 1.5‑2.0 throw ratio works well for a 100‑inch image from a modest distance.
3. Build Quality & Durability
Cheap doesn’t have to mean flimsy. Check for a solid plastic chassis, reinforced lens housing, and a stable cooling fan. Units with metal hinges or rubberized feet tend to survive the bumps of travel and the occasional knock.
4. Features & Functionality
Key features to prioritize:
- Connectivity: HDMI is a must; USB‑C and wireless Miracast are nice bonuses. Some budget models still rely on VGA or AV inputs—make sure your source devices match.
- Built‑in Speakers: While most cheap projectors have modest 2‑5 W speakers, they’re sufficient for casual movie nights. For better sound, plan on external speakers.
- Keystone Correction: Auto‑keystone or manual sliders help align the image without a perfect perpendicular setup.
- Portability: Weight under 2 lb and a compact footprint make it easy to move between rooms or take on the go.
5. Brand Reputation
Even in the low‑price segment, certain brands have built trust through consistent quality and responsive support. Companies like Vankyo, APEMAN, and DBPOWER have solid track records. Research user forums and Reddit threads for real‑world reliability reports.
6. Warranty & Support
A one‑year warranty is standard; anything less is a red flag. Look for easy claim processes, local service centers, and clear documentation. Some sellers also offer extended warranties for a modest fee—consider this if you plan heavy use.
7. Size & Portability
If you need a projector for a dorm room or a backyard setup, dimensions matter. A projector that fits in a backpack and weighs less than 1.5 lb is ideal for on‑the‑move scenarios.
8. User Reviews & Ratings
Beyond the spec sheet, dive into user reviews on Amazon, Best Buy, and dedicated AV forums. Pay attention to recurring complaints—like overheating, lamp failure, or poor focus—because patterns indicate systemic issues.
Different Types of Buying Guide

Common Buying Mistakes to Avoid
❌ Mistake: Ignoring Native Resolution
Why it’s bad: A projector that upscales a 1080p source to a low native resolution will appear blurry, especially for text and detailed graphics.
What to do instead: Choose the highest native resolution you can find under $100—typically 720p. If you must settle for 480p, plan to use it mainly for videos with less detail.
❌ Mistake: Overlooking Brightness Needs
Why it’s bad: A dim unit (under 2000 ANSI lumens) will look washed out in rooms with any ambient light, making movies unenjoyable.
What to do instead: Measure your typical viewing environment. If you can’t darken the room, aim for at least 2500 ANSI lumens or a high‑lumens LED model.
❌ Mistake: Forgetting About Throw Distance
Why it’s bad: Buying a projector with a long throw ratio for a small apartment forces you to place it far away, limiting image size.
What to do instead: Calculate the distance you have available and match it to the projector’s throw ratio. For a 10‑ft room, a 1.5‑2.0 throw ratio yields a 100‑inch screen comfortably.
❌ Mistake: Assuming All HDMI Ports Are Equal
Why it’s bad: Some budget units only support HDMI 1.3, which can limit 4K passthrough or HDR signals, causing compatibility issues.
What to do instead: Verify that the HDMI port supports at least HDMI 1.4 for basic 1080p playback. If you need HDR, look for newer models—even if it nudges the price slightly above $100.
❌ Mistake: Skipping User Reviews
Why it’s bad: Manufacturers’ marketing copy rarely reveals real‑world reliability problems like overheating or premature lamp failure.
What to do instead: Read at least 20‑30 verified buyer reviews, focusing on recurring themes. Pay special attention to comments about longevity and customer service.
❌ Mistake: Not Accounting for Additional Costs
Why it’s bad: Some projectors require separate cables, a wall mount, or a replacement lamp, turning a $90 purchase into a $130 expense.
What to do instead: Check the product bundle. Prefer items that include HDMI, power adapter, and a basic mounting solution.
❌ Mistake: Buying Without Testing
Why it’s bad: Images can vary dramatically due to factory calibration differences.
What to do instead: Purchase from retailers with a solid return policy. Test for focus, keystone, and color accuracy before committing.
Budget Guidelines: How Much Should You Spend?
- Entry‑Level ($60‑$80): Expect 480p resolution, 2000 ANSI lumens, basic HDMI, and modest built‑in speakers. Suitable for occasional movie nights in a dark room.
- Mid‑Range ($81‑$100): Typically 720p native, 2500‑3000 lumens, better contrast, and added features like USB‑C or wireless mirroring. This tier offers the best balance of image quality and versatility.
- Premium ($101‑$150): Though beyond the strict $100 limit, some sales bring these models down. Look for laser light sources, higher contrast (>2000:1), and superior color gamut.
- Luxury ($151+): Full HD or 4K support, high‑end DLP chips, and robust connectivity. Not covered in this guide but worth noting for future upgrades.
Expert Tips for Getting the Best Deal
- Timing: Major sales events (Amazon Prime Day, Back‑to‑School) are prime times to snag a deal.
- Where to Buy: Compare Amazon, Walmart, and direct manufacturer sites. Sometimes the manufacturer’s outlet offers refurbished units with extended warranties.
- Spotting Deals: Look for “bundle” listings that include HDMI cables, a screen, or a portable speaker; the total value often exceeds the price.
- Warranty Considerations: Register the product immediately to activate the warranty. Keep the original packaging for easier returns.
- Return Policies: Choose sellers with at least a 30‑day return window. Test the projector in your intended environment before finalizing.
- Testing Before Buying: If possible, view a demo video on the retailer’s site, or watch YouTube unboxing reviews that show the projector in action.
- Upgrade Paths: Some models allow firmware updates that improve performance. Check the manufacturer’s support page for updates.
Frequently Asked Questions
Q: Can I use a cheap projector for gaming?
A: Yes, but keep expectations realistic. Most sub‑$100 projectors have a response time of 30‑40 ms, which is acceptable for casual gaming but may show motion blur in fast‑paced shooters. Prioritize a low‑input‑lag model and keep the gaming console close to the projector.
Q: Do LED projectors need lamp replacements?
A: No. LED light sources typically last 20,000‑30,000 hours, far exceeding the lifespan of a cheap projector’s overall hardware. This means virtually no maintenance costs.
Q: How far away should I place a 100‑inch screen?
A: For a projector with a 1.5‑2.0 throw ratio, a 100‑inch diagonal screen (about 87 inches wide) requires roughly 8‑12 feet of distance. Check the specific throw ratio chart for precise placement.
Q: Will a cheap projector work with my smartphone?
A: Most budget models support HDMI‑MHL adapters or wireless Miracast. Ensure your phone supports screen mirroring, then use a compatible adapter or the built‑in wireless function if available.
Q: Is it safe to use a projector in a small bedroom?
A: Yes, as long as the unit has adequate ventilation. Place it on a stable surface, avoid covering vents, and keep it at least a few inches away from walls to prevent overheating.
Q: What’s the difference between ANSI lumens and LED lumens?
A: ANSI lumens measure actual light output, while LED lumens are a marketing metric for perceived brightness. For LED projectors, a rating of 250‑300 LED lumens roughly translates to 1500‑2000 ANSI lumens.
Q: Can I mount a cheap projector on the ceiling?
A: Most budget units come with a basic mounting bracket. Ensure the ceiling mount can support the weight (usually under 3 lb) and that the projector’s ventilation isn’t blocked.
Q: Do I need a separate screen?
A: Not necessarily. A smooth, white wall works fine for casual use. For better color accuracy, consider a budget 100‑inch projector screen or a blackout cloth.
Q: How do I calibrate colors on a cheap projector?
A: Use the built‑in picture settings—adjust brightness, contrast, and color temperature. Many models also offer a “Cinema” or “Vivid” preset that can be a good starting point.
Q: Are there any hidden fees when buying online?
A: Shipping is usually free on major retailers, but some marketplace sellers may charge extra. Always review the total cost before checkout.
Our Final Recommendations
- Best for Budget‑Conscious Buyers: Vankyo Leisure 3 Mini Projector – $68. Offers 480p resolution, 2000 ANSI lumens, and a sturdy build. Ideal for dorm rooms.
- Best Overall Value: APEMAN M4 Mini DLP Projector – $92. Delivers 720p native resolution, 2500 ANSI lumens, and HDMI + USB‑C inputs. Balanced performance and features.
- Best Premium Option (Just Above $100): DBPOWER L21 Laser Projector – $118 (often on sale for $99). Laser light source, 3000 lumens, and superior color gamut.
- Best for Beginners: Wimius P20 Pocket Projector – $79. Plug‑and‑play with auto‑keystone, easy remote, and built‑in speaker.
- Best for Advanced Users: Anker Nebula Capsule II (Refurbished) – $99. Android TV OS, Wi‑Fi streaming, and 720p DLP chip for those who want smart features without breaking the bank.
Conclusion: Making the Right Choice
Choosing a projector under $100 is less about finding a perfect machine and more about matching the device’s strengths to your specific needs. Keep your environment’s lighting, desired screen size, and connectivity requirements at the forefront of your decision. By focusing on native resolution, brightness, and reliable brand support, you can avoid common pitfalls and enjoy a solid viewing experience without overspending.
Remember, the best cheap projector is the one that fits seamlessly into your lifestyle—whether that’s a quick movie night on a college couch, an impromptu gaming session, or a portable presentation tool for work. Use the guidelines, compare the models, and you’ll walk away with a projector that punches well above its price tag.