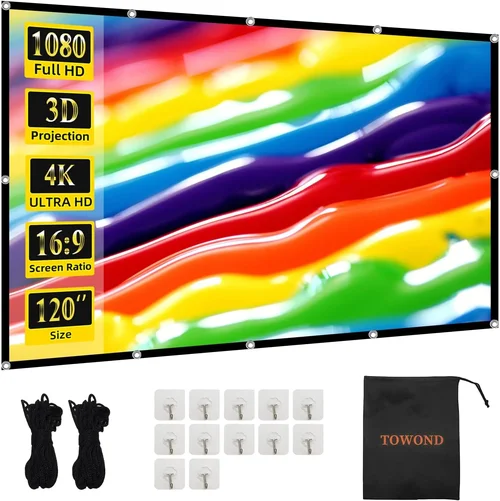
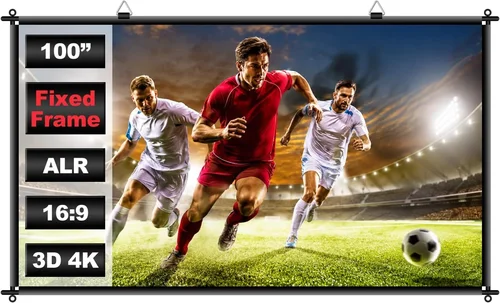
Choosing the right fixed projector screen can feel like solving a puzzle with too many pieces. You want a surface that delivers crisp, vivid images, fits your space, and doesn’t break the bank. That’s why this guide exists – to cut through the noise and give you a clear roadmap for finding the best fixed projector screen under $500 in 2026. Whether you’re setting up a home theater, a gaming den, or a small office conference room, the right screen transforms ordinary projections into cinema‑quality experiences.
In the pages that follow you will learn how to evaluate screen material, gain, aspect ratio, and frame construction. We’ll walk you through the most important buying factors, compare the main screen categories, flag common pitfalls, and break down what you can realistically expect at different price points. By the end, you’ll be equipped to pick a screen that matches your budget, room, and viewing habits without second‑guessing your decision.
The market for budget‑friendly fixed screens has exploded over the past few years. Manufacturers have refined tension‑systems, introduced ultra‑black matte finishes, and offered a wider range of sizes—all while keeping prices below $500. This surge means you no longer have to settle for a cheap pull‑down screen or an overpriced motorized model. With the right knowledge, you can secure a premium‑looking, durable screen that rivals higher‑priced alternatives.

What to Look for When Buying Buying Guide
1. Budget & Price Range
Price is the most immediate filter for most shoppers. A screen under $500 must balance cost with performance. Look for models that stay within your budget while still offering a solid gain rating (the measure of how much brighter the screen makes the projected image) and a reputable frame material. Avoid ultra‑cheap options that use flimsy PVC frames or low‑quality fabric, as they often warp over time and degrade image quality.
2. Performance Specifications
Key specs include gain, viewing angle, and screen material. Gain values typically range from 0.8 (flat, low‑reflectivity) to 1.3 (high‑reflectivity). For ambient‑light rooms, a gain of 1.1–1.2 is ideal; darker rooms can benefit from 0.8–0.9 to preserve contrast. The screen’s surface—whether matte white, gray, or high‑contrast black—also dictates how well it handles ambient light and black levels. Choose a material that aligns with your lighting conditions.
3. Build Quality & Durability
A fixed screen is a long‑term investment. Look for aluminum or steel frames with tensioned fabric to prevent sagging. Powder‑coated finishes protect against rust and scratches. Quality hinges and mounting brackets are essential for a secure, level installation that won’t wobble over time.
4. Features & Functionality
Even within the fixed‑screen segment, features vary. Some models include a beveled edge to reduce glare, a built‑in blackout border for deeper blacks, or a dual‑gain surface that switches between matte and high‑gain sides. While these add cost, they can dramatically improve viewing experience without exceeding the $500 ceiling.
5. Brand Reputation
Established brands such as Elite Screens, Silver Ticket, and Vankyo have built trust through consistent quality and reliable customer service. Newer entrants may offer attractive pricing, but verify their warranty terms and read user feedback before committing.
6. Warranty & Support
A solid warranty signals confidence from the manufacturer. Look for at least a 2‑year limited warranty covering frame defects and fabric tearing. Responsive customer support and easy access to replacement parts (like spare tension cables) are also critical for peace of mind.
7. Size & Aspect Ratio
The screen size should complement your projector’s throw distance and your room’s viewing distance. A common rule of thumb: the optimal viewing distance is 1.5–2.5 times the screen’s diagonal. Aspect ratio—16:9 for most movies and games, 2.35:1 for cinematic content, or 4:3 for presentations—must match your primary content source.
8. User Reviews & Ratings
Real‑world experiences reveal hidden strengths and weaknesses. Scan reviews on retailer sites, forums, and YouTube unboxings. Pay special attention to comments about frame stability, fabric tension, and how the screen performs under various lighting conditions.
Different Types of Buying Guide

Common Buying Mistakes to Avoid
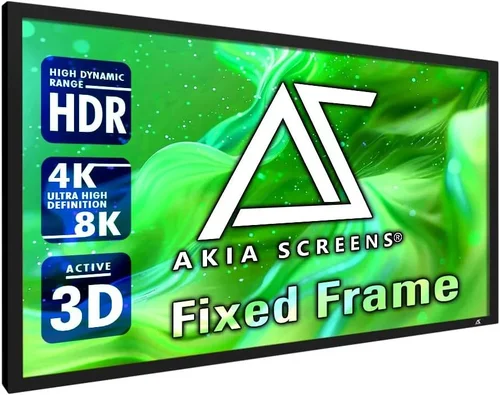
❌ Mistake: Ignoring Ambient Light Conditions
Why it’s bad: Selecting a high‑gain white screen for a bright living room will cause hot spots and washed‑out colors.
What to do instead: Measure your room’s typical light level. For spaces with windows or overhead lights, opt for a gray or ultra‑black screen with a moderate gain (1.0‑1.2).
❌ Mistake: Buying the Wrong Size
Why it’s bad: A screen that’s too large forces you to sit too far away, reducing perceived detail; too small and you’ll feel cramped.
What to do instead: Use the 1.5–2.5× viewing distance rule. For a 10‑foot viewing distance, a 100‑inch diagonal screen is ideal.
❌ Mistake: Overlooking Frame Material
Why it’s bad: Cheap plastic frames can warp, leading to uneven tension and a distorted image.
What to do instead: Choose aluminum or steel frames with a powder‑coated finish for rigidity and longevity.
❌ Mistake: Forgetting Installation Space
Why it’s bad: Fixed screens need a dedicated wall or ceiling mount. Neglecting clearances can result in a crooked installation.
What to do instead: Measure the mounting area, accounting for frame width and any surrounding trim. Use a level during installation.
❌ Mistake: Assuming All Screens Are the Same
Why it’s bad: Not all fabrics have the same gain or reflectivity. A “standard” label can hide variations that affect image quality.
What to do instead: Review the manufacturer’s spec sheet for gain, viewing angle, and surface type before purchasing.
❌ Mistake: Skipping Warranty Review
Why it’s bad: A short or non‑existent warranty leaves you exposed to defects without recourse.
What to do instead: Choose screens offering at least a 2‑year limited warranty and verify the process for filing a claim.
Budget Guidelines: How Much Should You Spend?
Entry-Level ($200‑$300): Expect a solid matte white screen with basic aluminum framing. Gain will be around 0.8‑1.0, suitable for dark rooms. Build quality is decent but may lack a beveled edge.
Mid-Range ($301‑$400): This tier introduces gray or dual‑gain screens, stronger steel frames, and optional blackout borders. You’ll get a better viewing angle (up to 160°) and more robust tension systems.
Premium ($401‑$500): Here you find ultra‑black coatings, premium dual‑gain fabrics, and precision‑engineered frames with integrated mounting hardware. These screens handle moderate ambient light while delivering deep blacks.
Luxury ($500+): While beyond the scope of this guide, luxury models often include motorized height adjustment, acoustic perforations for sound‑through designs, and custom finishes.
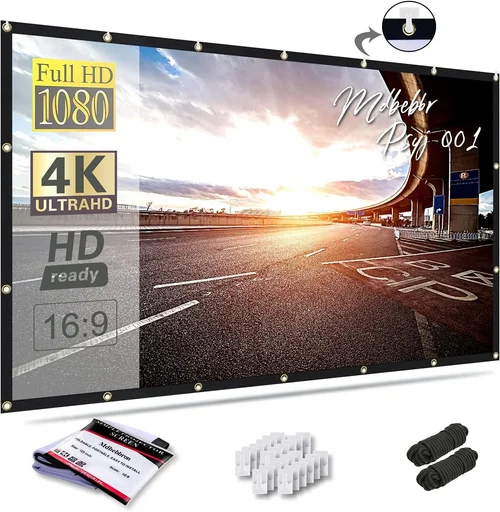
Expert Tips for Getting the Best Deal
- Timing is everything: Late summer (July‑August) often sees clearance sales as manufacturers make room for newer models.
- Shop where you can return: Choose retailers with a 30‑day return window. This allows you to test the screen in your actual room before fully committing.
- Bundle with a projector: Some online stores offer a discount when you buy a screen and projector together.
- Check for free shipping: Heavy screens can add $30‑$60 in shipping fees; free‑shipping promotions improve overall value.
- Read the fine print on warranties: Verify whether the warranty covers fabric sagging, which is a common issue.
- Consider second‑hand: Certified refurbished screens from reputable sellers can provide premium features at a fraction of the cost.
- Measure twice, order once: Double‑check your wall dimensions and mounting hardware compatibility before purchasing.
- Test for uniform tension: When the screen arrives, gently press the fabric at several points. It should feel taut without bulging.
Frequently Asked Questions
Q: Can I use a fixed screen in a room with some daylight?
A: Yes, but choose a gray or high‑contrast screen with a gain around 1.0‑1.2. These surfaces reduce glare and improve black levels compared to a pure white screen.
Q: Do I need a projector with higher lumens for a gray screen?
A: Not necessarily. Gray screens reflect slightly less light, so a projector rated 2,500‑3,000 lumens will still deliver bright images in moderately lit rooms.
Q: How do I mount a fixed screen on a concrete wall?
A: Use a heavy‑duty stud finder to locate wall studs, then secure the mounting brackets with lag bolts. For concrete, drill pilot holes and use concrete anchors.
Q: Is a beveled edge important?
A: A beveled edge helps minimize light spill and glare at the screen’s perimeter, resulting in a cleaner image—especially noticeable in dark scenes.
Q: Can I paint a wall to match my screen?
A: Yes, painting the wall a matte black or dark gray reduces reflections and enhances perceived contrast, especially with gray screens.
Q: What is the difference between gain and reflectivity?
A: Gain is a numeric rating that compares the screen’s brightness to a reference white board. Reflectivity describes how much light the surface bounces back. Higher gain equals higher reflectivity.
Q: Do fixed screens require professional installation?
A: Not always. With proper tools and a level, most DIY‑savvy users can install a fixed screen themselves. However, for ceiling mounts or large screens, professional help ensures safety and perfect alignment.
Q: How long will a budget screen last?
A: With proper care—avoiding direct sunlight, keeping the surface clean, and ensuring the frame stays tight—a quality $400 screen can last 5‑7 years or more.
Q: Are there any health concerns with projector screens?
A: No specific health risks are associated with screens. Just keep the area well‑ventilated and avoid using harsh chemicals for cleaning.
Our Final Recommendations
Best for Budget‑Conscious Buyers: Elite Screens 100‑Inch Matte White Fixed Frame – Priced at $219, it offers a 0.9 gain, sturdy aluminum frame, and a sleek black bezel. Ideal for dark rooms and first‑time home theater owners.
Best Overall Value: Silver Ticket 120‑Inch Gray Fixed Frame – At $359, this screen provides a 1.1 gain, high‑contrast gray surface, and a reinforced steel frame. It balances performance in both dim and moderately lit environments.
Best Premium Option Under $500: Vankyo Dual‑Gain 100‑Inch Fixed Screen – For $479, you receive a switchable matte white/gray surface, 1.2 gain on the white side, 0.8 on gray, and a precision‑tensioned aluminum frame. Perfect for users who need flexibility.
Best for Beginners: ProjectorScreen.com 84‑Inch Standard Fixed Frame – Simple installation, 0.8 gain, and a clear instruction manual make it a stress‑free entry point at $189.
Best for Advanced Users: Screen Innovations 110‑Inch Ultra‑Black Fixed – At $495, this screen delivers a proprietary black‑magic surface with 0.9 gain that excels in bright rooms, plus a heavyweight steel frame for ultimate rigidity.
Conclusion: Making the Right Choice
Choosing the best fixed projector screen under $500 boils down to matching screen characteristics with your room’s lighting, your projector’s brightness, and your personal viewing preferences. Remember to assess gain, material, frame construction, and size before you click “add to cart.” Use the budget breakdown to set realistic expectations, avoid common pitfalls, and apply the expert tips to snag the best deal.
Take the time to measure your space, read user reviews, and verify warranty terms. With the information in this guide, you’re now equipped to make a confident, informed purchase that will elevate your home cinema or gaming setup for years to come. Happy viewing!